Stage Technician Carts: Modular Tool Storage Compared
By Priya Desai • 4th Apr
Stage technician tool storage systems form the backbone of efficient theater production. Whether you're managing lighting rigging, audio equipment, set rigging, or general technical support, how you organize your tools directly determines how fast you move during setup, load-in, and troubleshooting. This article walks you through the core architecture of modular portable stage technician cart systems, compares three proven layouts, and shows you how to build or select a cart that scales with your venue and crew.
Why Modular Matters: The Consistency Principle
The difference between one-off heroic saves and reliable daily performance lies in repetition. A tech crew asked why their fastest rigger always finished first, until we stepped back and looked at their carts. Every technician's setup was different. One had a cordless drill at chest height; another had it wedged in a drawer. One used color-coded bins; another used labeled bags. No two carts matched.
We standardized zones, applied consistent color-coding across all audio equipment storage solutions, documented a 10-minute reset process, and made every cart identical. Within a month, their median load-in time dropped by 18 minutes. The fastest tech didn't get faster. The slowest got fast. Same place, every time turned an outlier into a baseline.
Modular carts enable this shift. For forward-compatible planning and budget phasing, see our modular tool storage expansion guide. When zones and labels are documented and repeatable, normal technicians hit professional numbers every day.
Core Anatomy of a Modular Stage Technician Cart
The Foundation: Caster Selection and Footprint
Your cart's mobility defines its usability. A loaded rigging cart weighs 120 to 180 pounds. Cheap casters bind under load, lock up on cable grates, or fail after 50 hours of weekly use. Invest in:
- Heavy-duty swivel casters with 5 to 6 inch diameter wheels rated for at least 200 pounds per caster (800+ pounds total capacity).
- Locking mechanisms on at least two casters to prevent drift during load-in.
- Sealed bearing cartridges to exclude grit, sawdust, and stage debris.
- Smooth push handles positioned at waist height, never above shoulder height.
Footprint matters equally. A cart 30 × 24 × 60 inches (width × depth × height) fits through standard theater doorways and maneuvers in tight wings. For stability, weight distribution, and tip-over prevention on rolling carts, review our tool chest safety guide. Anything wider risks jamming in hallways or the loading dock.
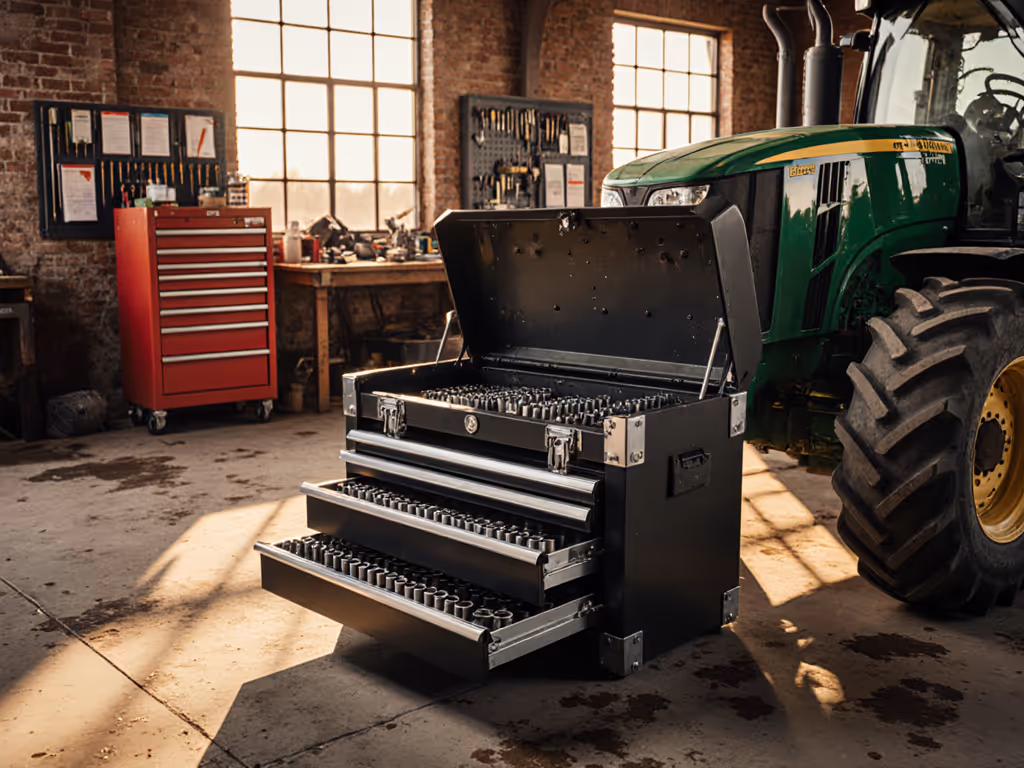
Drawer Configuration: Depth, Quantity, and Load Rating
Drawer architecture determines how much you can access without full-height cabinet racking. A modular theater production toolbox typically includes:
- Three to five shallow drawers (2 to 4 inches deep) for small parts, adapters, tape, markers, batteries.
- Two to three mid-depth drawers (6 to 8 inches) for hand tools, multimeters, cable reels, clips.
- One full-depth drawer (12+ inches) for bulky items: mic stands, cable drums, gels, spike tape rolls.
Each drawer must support at least 100 pounds when fully extended and remain level under load. Full-extension ball-bearing slides cost more but prevent tipping and reduce repetitive bending.
Visual Management: Color, Labels, and Audit Readiness
Colors and labels transform a storage box into a control system. Use five-color mapping:
| Color | Zone | Content |
|---|---|---|
| Red | Electrical | Power cables, adapters, batteries, multimeters |
| Yellow | Rigging | Carabiners, shackles, tape, gauges |
| Blue | Audio | XLR cables, adapters, splitters, clamps |
| Green | Hand Tools | Wrenches, pliers, screwdrivers, adjustable tools |
| White | Consumables | Tape, markers, zip ties, gaffer tape, spare clips |
Label every drawer and every zone within a drawer. Use waterproof, solvent-resistant label stock. Place a checklist-driven laminated index card on the cart's exterior listing contents, responsible tech, and a last-checked date. This becomes your audit baseline.
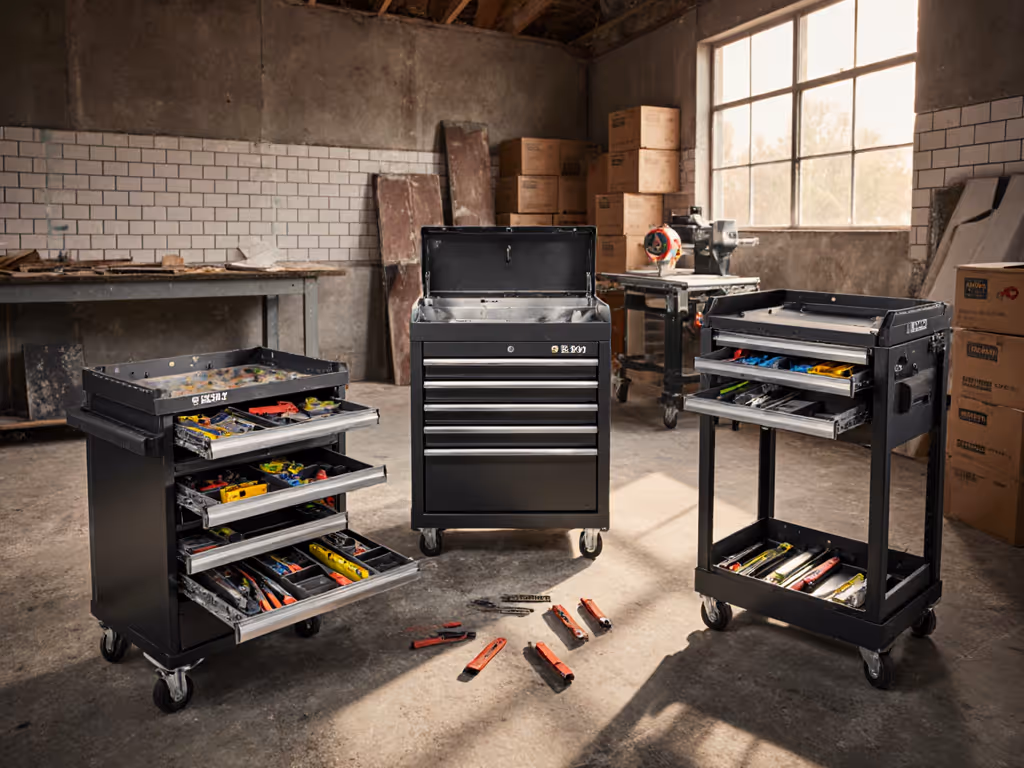
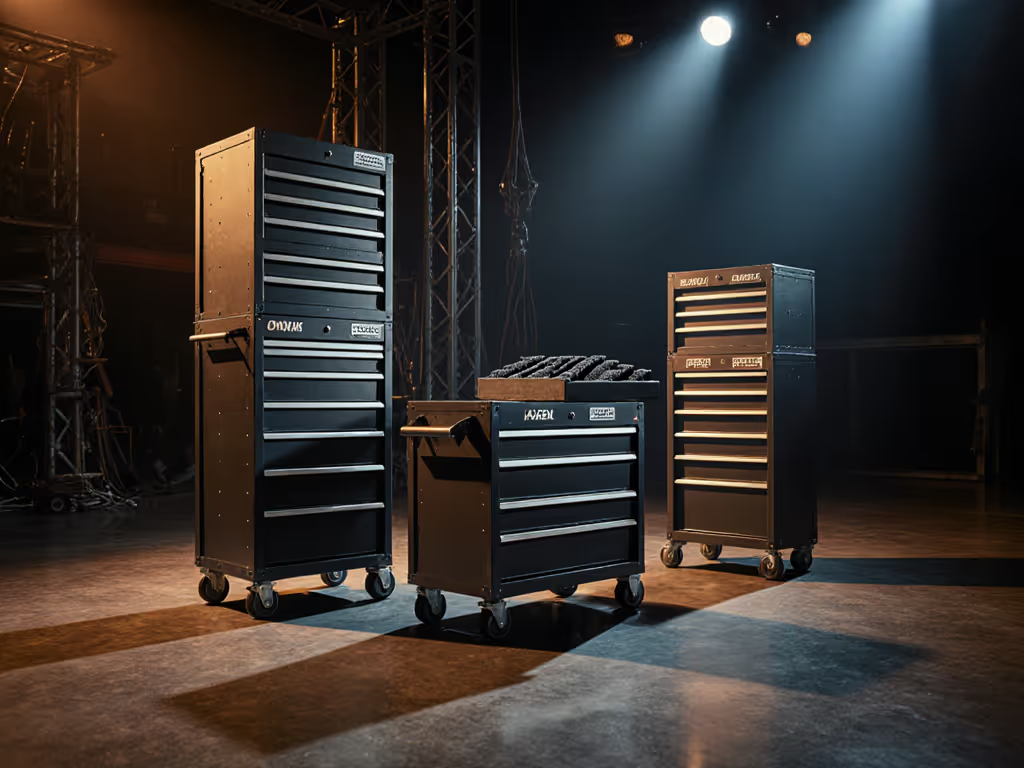
Three Modular Architectures Compared
Architecture 1: The Stacked Cube (Entry-Level Scalability)
Design: Three 24 × 18 × 12 inch modular cubes stacked on a mobile base. Each cube is identical, with four small drawers and foam dividers. For brand ecosystem pros and cons, see our modular tool storage systems comparison.
Pros:
- Lowest upfront cost ($600 to $1,200 for cart and cubes).
- Each cube can be removed and assigned to a different tech or crew.
- Foam rework is straightforward: pull foam, recut, reinstall.
- Scales easily: add a cube next season without redesigning.
Cons:
- Tipping risk if stack becomes top-heavy; requires anchor straps.
- Vertical reach for top cube items creates extra lift and search time.
- Limited consolidation: you move three separate items instead of one cart.
- Drawers are shallower, forcing more subdivision.
Baseline metric: Zero-search retrieval at ~14 seconds on average.
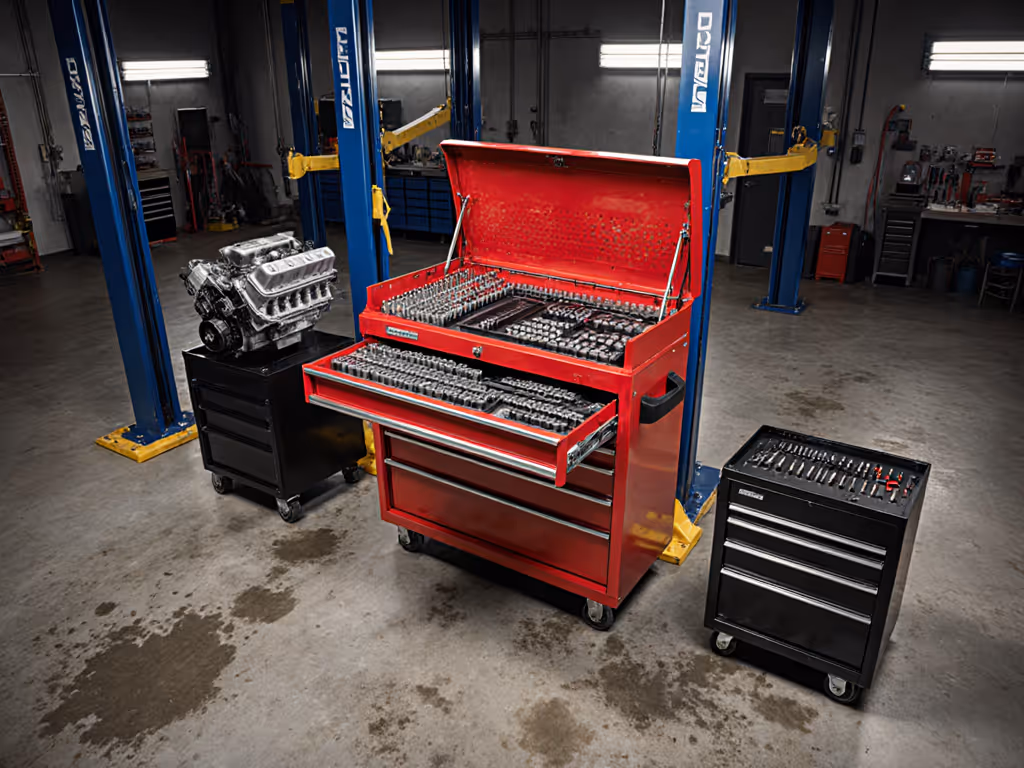
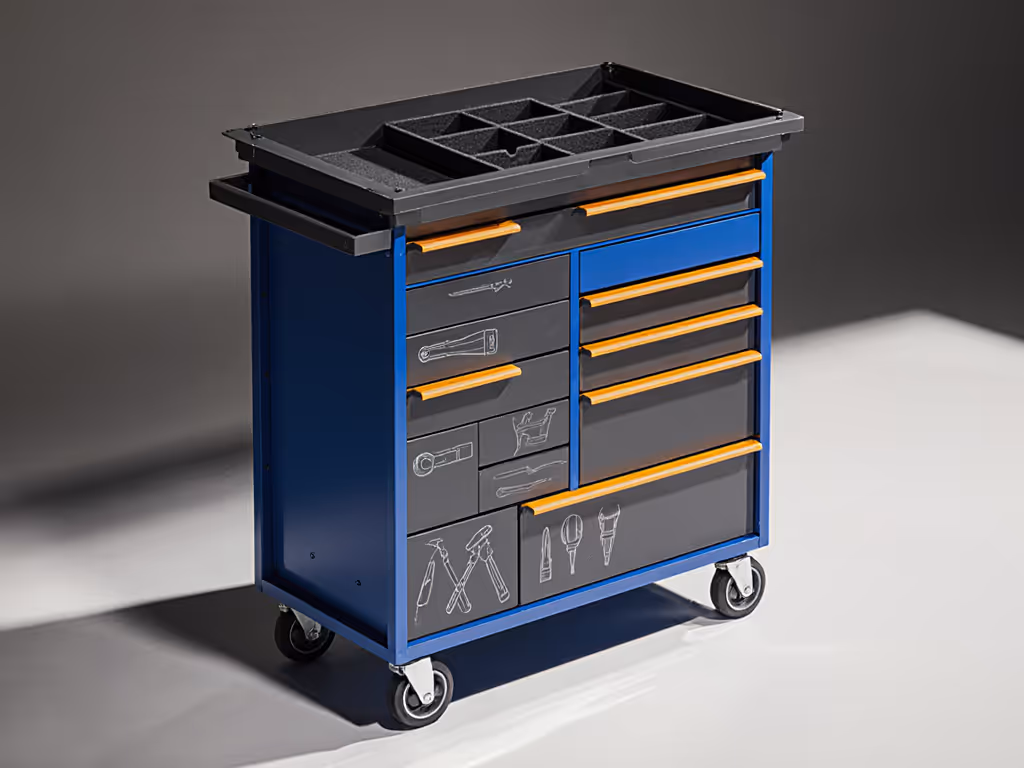
Architecture 2: The Toolbox Cart (Integrated Design)
Design: Single metal cart body (often sourced from automotive suppliers) with five to seven integrated drawers, built-in top surface, and optional side hutch attachment.
Pros:
- Single point of maneuverability: one cart, one pull-handle.
- Top surface provides workspace for quick repairs or cable organization during setup.
- Drawer configuration is optimized; no wasted internal space.
- Integrates power management: some models include a 120 V outlet strip and charging drawer.
- Withstands years of daily theater use with minimal maintenance.
Cons:
- Mid-range cost ($1,200 to $2,500) with higher upfront capital requirement.
- Foam rework is permanent: replacing a drawer's internal foam is labor-intensive.
- Fixed drawer count: if your tool set evolves, you retrofit, not replace.
- Heavier than stacked cubes: requires two techs to load into a truck.
Baseline metric: Zero-search retrieval at ~10 seconds; top-surface workspace reduces secondary task hunting by 20% vs. stacked cubes.
Architecture 3: The Modular Hybrid (Maximum Scalability)
Design: Mobile base cart with a drawer tower (core 4 to 5 drawers) plus quick-release slots on the sides for 12 × 18 × 12 inch plug-in modules.
Pros:
- Maximum flexibility: swap audio modules for rigging modules mid-week without touching the cart's core.
- Core drawer tower is optimized for high-frequency items; modules store specialty tools by discipline.
- Modules can be prefabbed and stocked: keep five audio modules ready and rotate them into the core cart.
- Scales seamlessly: add two modules for a larger venue or second crew without multiplying carts.
- Supports theater production organization across multiple bays: standardize the core, customize the modules.
Cons:
- Highest upfront cost ($2,500 to $4,500) and setup complexity.
- Requires clear documentation: each module type must have a fixed color, label, and contents map.
- Module connectors can fail if not designed for daily insertion and removal.
- Team buy-in is essential; inconsistent module assignment defeats the system.
Baseline metric: Zero-search retrieval at ~9 seconds; modular swap time is < 2 minutes, eliminating the need for multiple full carts across venue bays.
Step-by-Step Setup Process
Step 1: Define Your Reset Window
Your cart is only as reliable as your reset discipline. A reset window is the time allocated between uses to restock, verify, and clean the cart.
- For daily theater use: 10 to 15 minute reset after each load-out.
- For weekly venue tech (community theater): 30-minute reset after the final performance.
- For touring rigs: same day reset before truck departure, plus weekly deep verification.
Document this time in your production schedule. Techs won't reset without allocated hours.
Step 2: Build the Content Inventory and Baseline
List every tool and item that belongs in the cart. For each item:
- Assign it to a named zone (Electrical, Audio, Rigging, etc.).
- Specify its home drawer.
- Photograph the drawer (before/after baseline) to establish visual standard.
- Record quantity and part number.
This inventory is your audit document. Use it to detect missing tools and justify restocking spend.
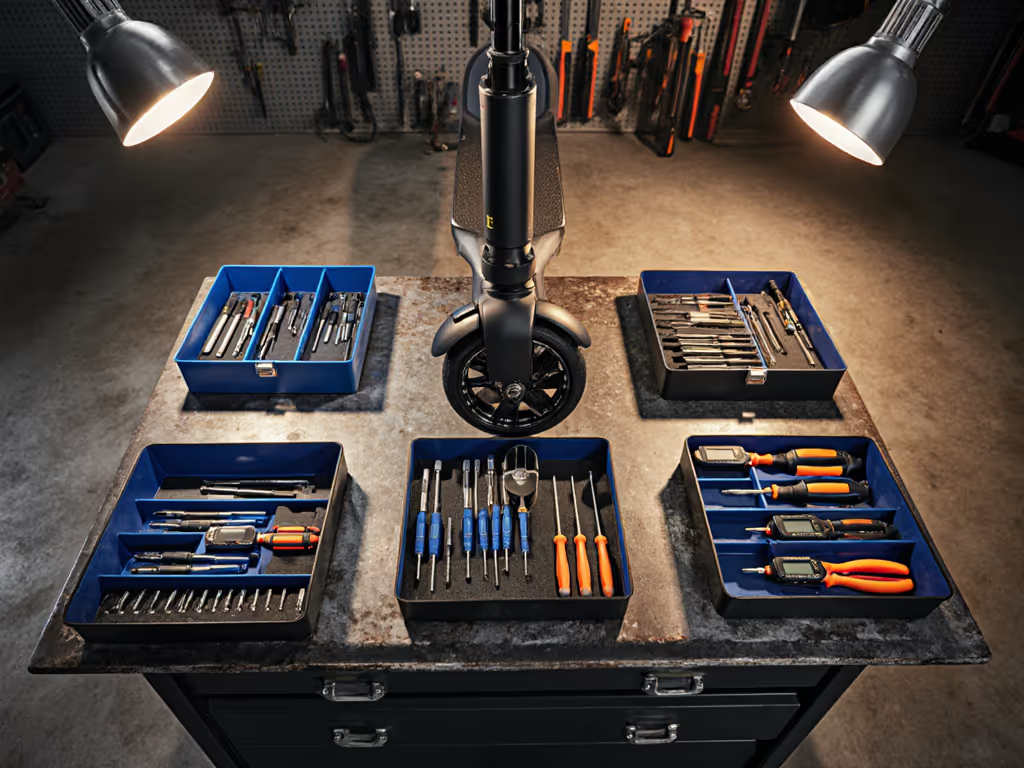
Step 3: Design and Install Dividers and Foam
For shallow drawers, use open-cell foam cut to fit: For templates, cutting tips, and repairable layouts, see our foam organization guide.
- Outline each tool on the foam with permanent marker.
- Cut foam pockets 0.25 inches wider than the tool.
- Glue foam sections to drawer bottom with contact cement or silicone adhesive.
For mid-depth drawers, use adjustable dividers (plastic or aluminum rails) to create compartments. Avoid overfilling: if a drawer is more than 80% full, you've violated the reset window principle.
Step 4: Apply Color-Coding and Labeling
Mark all five zones with consistent colors:
- Use adhesive vinyl strips on drawer faces.
- Apply a master index card (laminated) listing zone colors, contents, and responsible tech.
- Use a dry-erase section for last-checked date and technician initials.
Place this card on the cart's top surface so it's visible at a glance. This single artifact transforms a tool cart into a visual management system.
Step 5: Document the Reset Checklist
Write a one-page, laminated reset checklist:
- Missing items (checkbox for each zone).
- Damaged cables or tools (mark for repair or disposal).
- Battery levels (cordless drills, headlamps, multimeters).
- Cleanliness (brush out debris, wipe top surface).
- Label integrity (reapply faded labels).
Post this inside the top lid of the cart. Resetting without the checklist defeats the system.
Step 6: Schedule Audits and Before/After Metrics
Baseline your current state: time a technician's zero-search retrieval for 10 frequent tasks (installing an outlet strip, terminating an XLR, rigging a hung instrument). Average the times.
Implement the standardized cart. After two weeks, re-run the same 10 tasks. Document the time saved. This metric justifies the investment and drives team adoption.
Actionable Next Steps
-
Assess your current baseline: Visit your shop or theater tech storage. Time a technician finding and retrieving five common tools. Record the total time. This is your before metric.
-
Choose your modular architecture: Stacked cubes for flexibility and budget, integrated cart for optimization, or modular hybrid for scale. Document why you chose it (venue size, crew count, budget). Share this decision with your team.
-
Create a tool inventory: List every item in your current carts or drawers. Assign each to a color-coded zone. Take a before photograph. This becomes your audit baseline.
-
Prototype one cart: Build one standardized cart using your chosen architecture. Include all five color zones, foam or dividers, and a laminated index card. Use it for two weeks with consistent reset discipline.
-
Document the improvement: Re-time your five common tasks. Calculate time saved per technician per day, and multiply by crew size. This ROI justifies rolling out the system to all carts.
-
Standardize and scale: Once one cart succeeds, replicate it. Identical carts across your theater or multisite production ensure that same place, every time becomes a reflex, not a hope.
Consistency outperforms heroics over any busy Monday. Standard carts let average days produce professional throughput, across every bay and every crew.
Related Articles