Affordable Tool Chests Under $200: Expandable Storage
By Tomáš Novák • 28th Apr
You've heard the pitch: a full-featured affordable starter tool chest for under $200. Trouble is, the word "affordable" masks a crucial question every tech and shop owner should ask before buying: What are you actually trading off? I've spent years running tools out of mobile chests on jobsites (hospitals, factories, field service calls), and I've learned the hard way that the cheapest entry point isn't always the wisest one. That said, the right sub-$200 chest, chosen with clear eyes about its limits, can absolutely work. It's just not magic.
Let me walk you through what the market actually delivers at this price, what survives real use, and where the trade-offs hurt the most. For model-specific picks at this price, see our affordable starter chests under $200 with expandable paths.
The $200 Barrier: What Changes Below It
Tool chest pricing follows a brutal curve. Jump from $200 to $400, and you immediately get full-extension slides, better latching integrity, and components that do not rattle themselves apart by mile two. But at $200 and below, manufacturers make hard choices: smaller footprints, shallower drawers, thinner steel, partial-extension slides, and plastic latches instead of metal catches.
I learned this the wrong way. Five years ago, I bought a budget 26-inch chest to retrofit a hospital maintenance cart. The drawers crept forward under vibration. The plugs on the power strip loosened mid-job. Within three weeks, I'd lost two bit drivers and a flashlight to drawer separation. That's not a product failure (it's a design compromise I didn't understand going in). If it rattles, it's stealing seconds from you. I rebuilt around latching slides and better casters, and the downtime vanished.
The lesson: sub-$200 storage can work, but only if you're honest about what it's not.
What $200 Actually Buys You
The DIY-Build Route
You can assemble a functional mobile chest for under $200 by sourcing lumber, casters, and basic hardware from a home center. This is popular in maker communities and among techs who value modularity over turnkey convenience. The real cost isn't just materials, it's setup time and the fact that you're building around your specific workflow, not an industry standard.
Pros:
- Total control over interior layout and drawer depth
- Expandable by design, add shelves, dividers, or a second tier without ecosystem lock-in
- No proprietary parts; most components are serviceable and replaceable
- Builds craftsmanship and familiarity with your own tool system
Cons:
- 20-40 hours of build time before your first tool goes in
- Caster quality depends entirely on your sourcing; many budget rolling bases fail within months under shop loads
- Vibration and rattle checks fall on you; no factory testing or warranty backing
- Finish durability varies; shop grime and cleaning chemicals wear uncoated wood and cheap paint fast
If you're building, invest heavily in caster floor-interface notes: ball-bearing swivels rated for at least 1200 lbs per wheel, and a locking mechanism on the base to prevent creep under load.
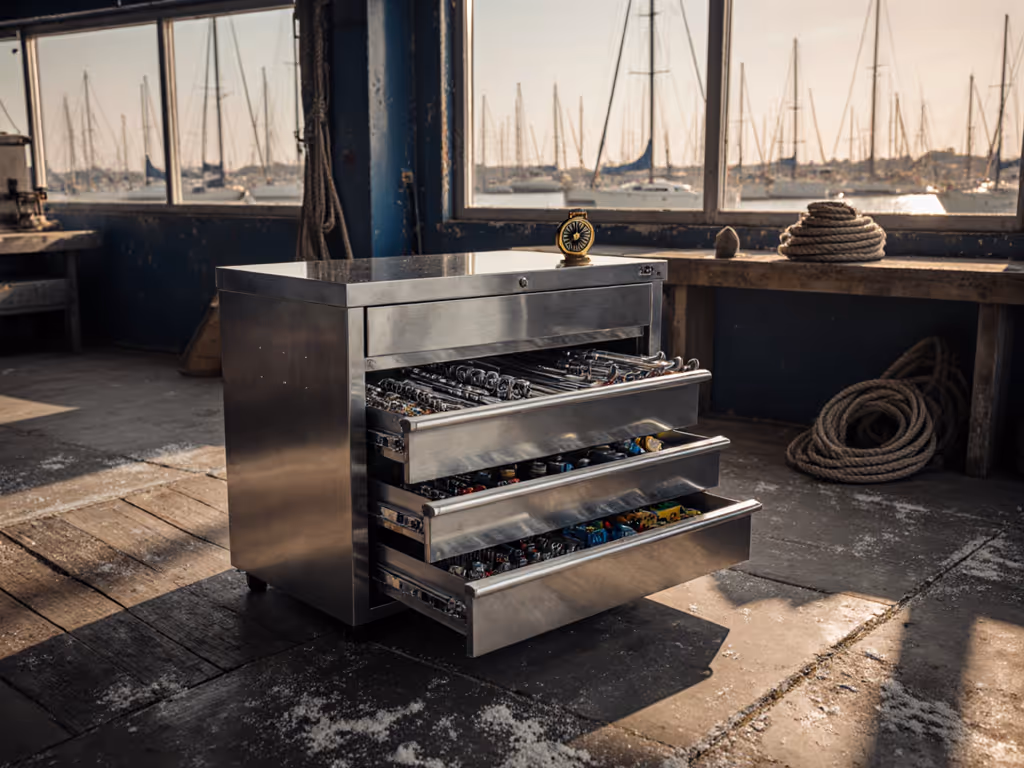
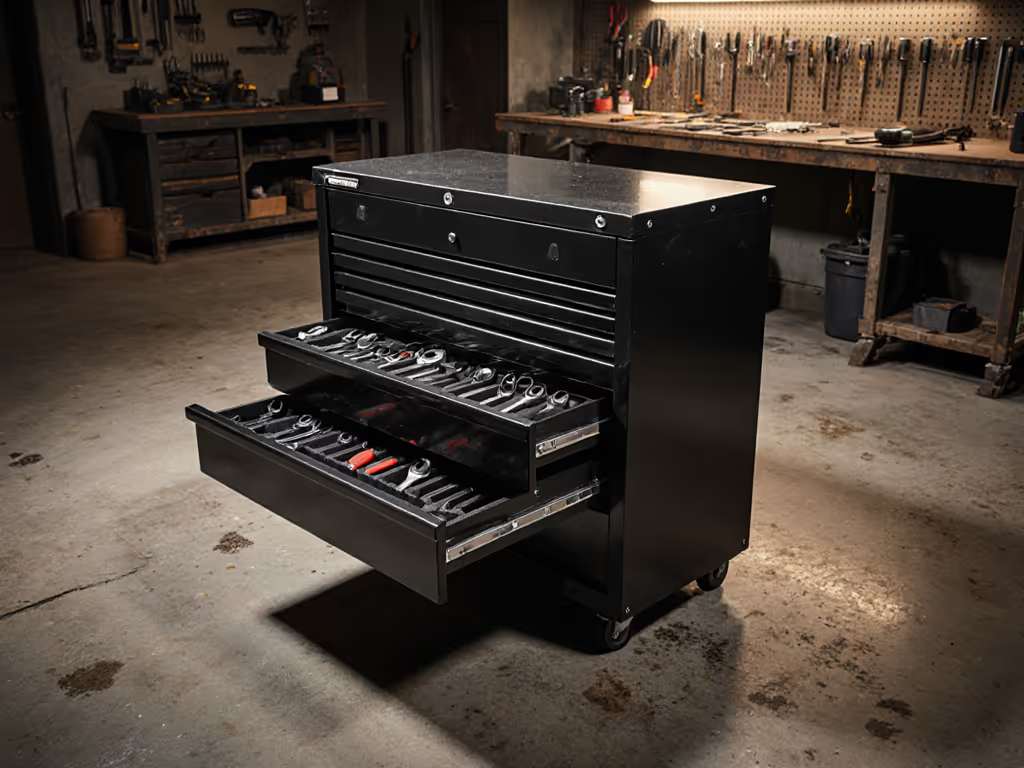
Entry-Level Commercial Chests
Off-the-shelf, name-brand tool chests under $200 are typically 26-30 inches wide, 4-5 drawers, with sheet-metal bodies and partial-extension slides. Brands like Craftsman, Husky, and house labels from big-box retailers occupy this tier.
What you get:
- Immediate usability, unbox, stock drawers, roll to the job
- Basic latch integrity; most use cam-lever or simple hook latches rather than full ball-catch systems
- Casters rated 500-1000 lbs total capacity (adequate for a lightly loaded chest, risky for full density)
- A warranty, typically 1 year, though parts availability varies
What you don't get:
- Full-extension slides; most pull out 75% and stop, forcing you to reach or angle into the chest
- Sound dampening or vibration resistance; drawers and lids rattle if you accelerate or hit a pothole
- Gaskets or seals to keep dust and chips out; drawers are open at the back
- Integrated power management; if you need outlets, you're running an extension cord
The caster quality is the first real constraint. Budget bases often use swivel wheels with friction bearings, not ball bearings. On a gritty shop floor or a delivery truck, they seize or wear unevenly within weeks. I've seen techs carrying chests up stairs because the wheels locked. That's a fail.
Where the Real Gaps Show Up
Latch Integrity and Vibration
In the field, a mobile chest that passes every bump and vibration test is non-negotiable. Under-$200 chests almost always fail this test. Drawers use simple hook latches or plastic cam catches; under road vibration or even just the hum of an elevator, drawers creep forward by half an inch. It's not catastrophic, but it means you're constantly nudging drawers closed, tools rattle inside, and if you're moving fast, something falls out.
The fix: add aftermarket L-brackets or magnetic catches to high-vibration drawers. It's a $2-5 retrofit per drawer and takes 10 minutes, but it should not be necessary on day one.
Expandability Reality
Most entry-level workshop storage chests are fixed designs. You cannot add a top box, side cabinet, or modular stack without buying a completely separate unit. If your tool collection grows, which it does, you're either squeezed into deeper drawers or buying a second chest and losing coherence across your setup.
Some budget brands, like Craftsman's modular systems, do offer stackability, but the connectors are cheap plastic and don't align precisely when fully loaded. A $180 base plus a $180 top box often feels like two separate pieces of furniture, not one integrated system.
For true modularity, you're really looking at $350+ entry, at which point proprietary ecosystems (Packout, SystemOne, Tekton systems) start making sense. If you're planning to grow, start with our modular expansion guide to avoid ecosystem lock-in. At $200, your best bet is still the DIY-build route, it's inherently expandable.
Power and Cord Management
Most sub-$200 chests do not ship with integrated power. You either buy a chest without outlets and run an external power strip, or you buy one of the few models with a 2-4 outlet power strip mounted to the back. Those power strips are invariably cheap: thin wire, loose plugs, and no surge protection.
This is where I almost lost my hospital job. A loose 120V outlet on a borrowed chest rattled free, and a diagnostics laptop nearly went down. Power safety callouts are non-negotiable in facility work or regulated environments. If your chest has integrated power, inspect the connections weekly. Better yet, add a secondary lock-bracket or high-quality surge strip. Do not treat power as an afterthought. Review essential practices in our tool chest fire safety guide for chests with integrated power.
What Survives the Field
Over 15 years, I've seen a pattern: the sub-$200 chests that don't disappoint are the ones bought by techs who:
-
Don't overload them. A 5-drawer, 26-inch chest has a practical limit of 800-1200 lbs before caster and slide fatigue accelerates. Stock it for speed and precision tools, not dead weight.
-
Reinforce before they ship. Add swivel locks to the base, upgrade drawer latches, and load-test casters in-shop before field deployment.
-
Accept the partial-extension trade-off. 75%-pull drawers are slower, but they're stable and less prone to tipping. Full-extension is a $300+ feature.
-
Keep them close. These chests shine as a 20-foot mobile hub on a jobsite, not a daily hauled-across-town workhorse. If it's moving every day, you'll catch wear early.
-
Treat modularity as a future purchase, not day-one promise. Buy a solid base, use it for a year, then add a top box or side cart when the need is clear.
The Honest Comparison: DIY vs. Off-the-Shelf
| Factor | DIY Build (<$200) | Commercial Entry-Level (<$200) |
|---|---|---|
| Setup Time | 20-40 hours | 1-2 hours |
| Caster Quality | Depends on your sourcing; ~$30-50/set | Often undersized; ~$0-30 |
| Expandability | Unlimited by design | Fixed; requires separate purchases |
| Latch Integrity | Manual reinforcement needed | Basic; vibration creep is common |
| Finish Durability | Low without coating; requires maintenance | Medium; factory paint but thin |
| Modularity | Built-in; add tiers, shelves, drawers at will | Rarely supported; stacking is poor |
| Field-Ready Speed | Slow; weeks of setup | Immediate; stock and roll |
| Parts Availability | Generic hardware; always available | Brand-dependent; warranty replacements only |
The Red Flags to Catch Before Buying
- Casters that spin too freely or don't lock. Roll the chest hard; quality casters resist spin and engage a brake without wobble.
- Drawers that open more than 3 inches without stopping. Partial extension is fine, but stops should be firm and predictable.
- Plastic latches on medium and deep drawers. Plastic fails under vibration; metal is non-negotiable for anything deeper than 4 inches.
- Silence during rattle tests. Shake the closed chest; if you hear drawer noise, the latch system is loose and will creep in the field.
- Flex in the body when you push the corner. Sub-$200 chests often use thinner gauge steel; some flex is normal, but lateral movement when empty is a sign of poor construction.
- No drain or ventilation on the power strip area. Moisture and shop grime will corrode cheap outlets.
Realistic Expectations and the Verdict
Here's the truth I'd tell any tech or shop owner: a $200 chest is not a permanent solution for a professional operation. It's a staging tool. It works best as:
- A starting point for a new technician or small independent shop
- A backup or satellite chest for overflow or a second bay
- A learning platform to figure out what you actually need before spending $500-1000 on the right system
- A DIY project if you have the time and want to build a custom footprint
The mistakes I see are techs and shop owners who buy the cheap chest thinking it's a permanent fix, then spend the next year frustrated by drawer creep, wobbly casters, and the inability to expand. They end up buying two chests instead of one good one.
If you're buying under $200, go in knowing it's a season or two of service, not a career piece of equipment.
That said, there are solid sub-$200 options if you know what to prioritize: Husky and Craftsman bases, when reinforced with aftermarket caster locks and drawer latches, can deliver 2-3 years of reliable field use. And the DIY route, if you have a weekend free, gives you expandability and control that no commercial box at that price point can match.
Final Verdict
Choose the affordable starter tool chest under $200 only if you're clear about the constraints:
-
For a new independent tech or small shop: Go DIY-build if you have time; commercial off-the-shelf (Husky, Craftsman) if you need immediate deployment. Budget $20-40 extra for reinforcement, casters, and latch upgrades.
-
For a tech who's outgrown the first chest: Save the $200 and jump to $400-500. The jump in slide quality, latch design, and expandability will save you far more than the difference in frustration and downtime. See our best tool chests under $500 comparison to choose confidently.
-
For a shop considering standardization across bays: Don't build a fleet of $200 chests. It creates incompatibility, duplicated tools, and endless micro-logistics. Invest in one ecosystem (even if it's $350+ per unit) and roll it consistently.
Built to be rolled, not worshiped. At $200, that's not a selling point, it's a warning. A chest at this price is a workhorse that will demand attention and reinforcement. If you accept that reality, you can make it work. If you're hoping for a hassle-free, plug-and-play solution, you're buying heartbreak.
Related Articles