Dual-Purpose Tool Storage: Workshop to Emergency Vehicle Repair
By Tomáš Novák • 10th Jun
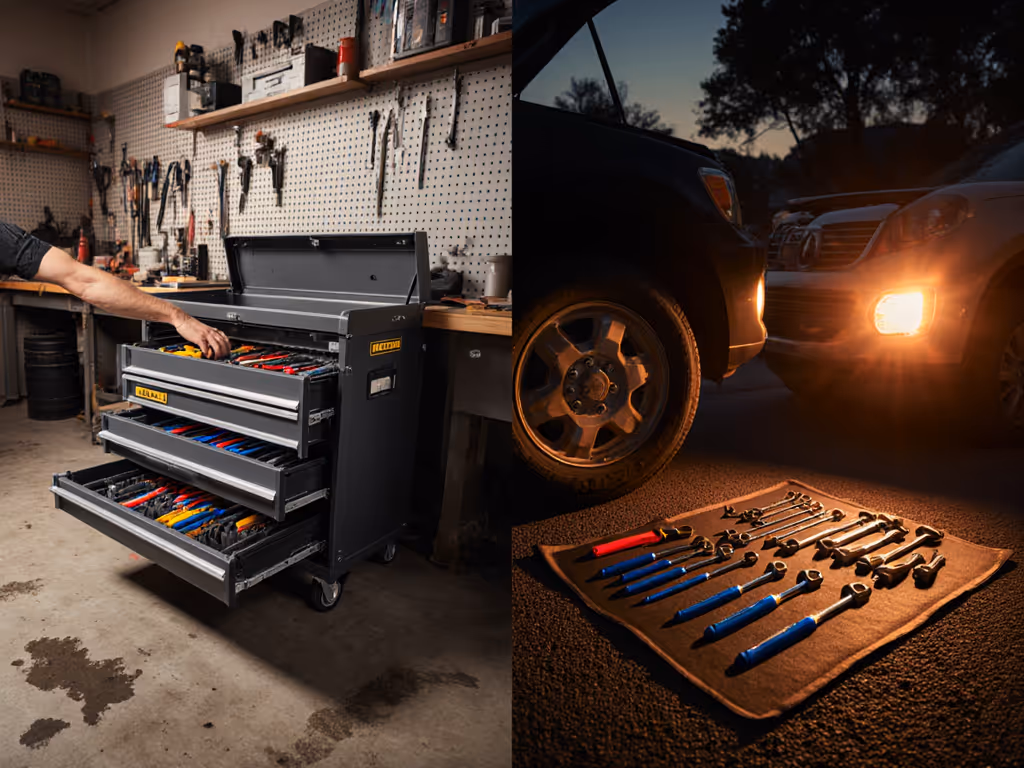
Dual-purpose tool storage that can pivot from a clean bay to a workshop to an emergency vehicle repair system is not a luxury add-on; it is a production tool that decides whether you hit MTTR targets or burn time on preventable chaos.
If your main box lives in the shop and your road kit is a random pile of cases, bags, and milk crates, you are paying for that split every single day in steps, seconds, and rework.
The Core Problem: Two Worlds, Two Systems, One Mess
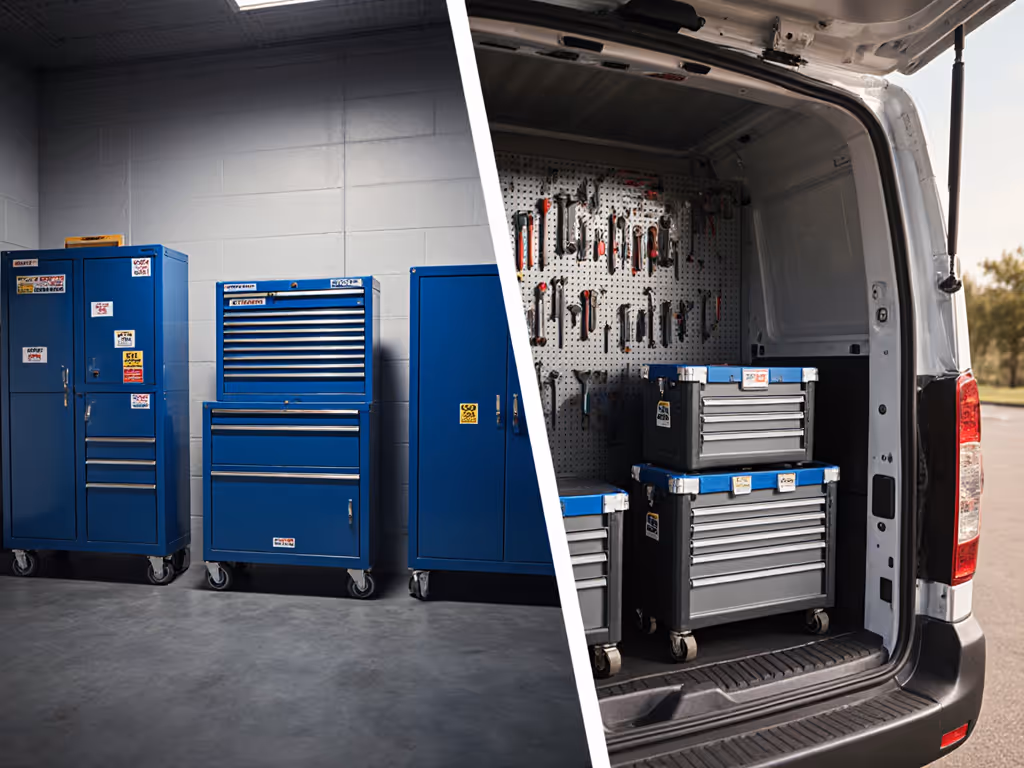
Most operations run two disconnected tool systems:
- A primary shop chest or cabinet optimized (more or less) for bay work.
- A separate set of cases and bags for field or roadside work.
On paper, that sounds fine. In reality, it creates predictable failure modes:
- Duplicate tools and gaps: You buy a second set "just for the truck," then discover the torque wrench or crimper you need stayed in the shop.
- No standard map: Drawer layout in Bay 1 does not match Bay 3, and neither matches the truck. Every tech burns time hunting.
- Packing friction: Before an emergency call, somebody raids the main chest, strips foam, and tosses tools into a bag "just this once," then nothing gets reset.
- Road kit entropy: No fixed homes, no labeling, and no 5S discipline; every field box turns into a junk drawer on wheels.
Workshops that systematically group tools by frequency of use and task report faster retrieval and fewer search steps, a fact widely noted in professional storage guides.[2][5] When you split systems without a shared logic, that benefit evaporates.
Symptom Check: Is Your System Fighting You?
If any of this sounds familiar, your setup is costing you:
- You cannot hit a 10-second rule (most-used tool in hand in 10 seconds) from your main working position.
- Different bays store the same tools in different locations; cross-covering techs waste minutes per job orienting.
- Your mobile emergency repair organization depends on whoever last "packed the truck," not a repeatable layout.
- Foam and dividers in the shop are dialed in, but the road kit is a random assortment of pouches.
- After a field call, tools drift: pliers stay in the van, the impact ends up in the wrong bay, bits disappear.
If it rattles, it's stealing seconds from you.
I learned that the hard way years ago when a cheap mobile chest literally shook itself apart on a long, rough-service job. Drawers slid open, bits walked out of their slots, and we spent more time fixing our storage than fixing the building. That is the baseline you must design away from.
Why It Hurts More in the Field (Agitate)
A poorly thought-out shop chest is annoying. A poorly thought-out workshop vehicle toolkit integration can strand a truck, delay response, or force unsafe improvisation.
Here is where dual systems usually fail under real-world conditions.
Vibration, Rattle, and Drawer Creep
On a clean concrete floor, mediocre slides and weak latches seem "good enough." Put the same chest in a service van or trailer and you discover:
- Drawers creep open on every stop.
- Slides rack under off-axis loads.
- Small parts migrate from one compartment to another.
Without a latch integrity focus and real vibration and rattle checks, you end up taping or strapping drawers before every run, another step that never shows up in the brochure. For tie-down methods and preventing drawer blowouts during transport, see our flatbed tool chest transport guide.
Casters and Floor Interface
A chest that feels fine indoors can be almost unusable once you roll it across:
- Expansion joints
- Gritty shop floors
- Broken asphalt
- Thresholds and ramp lips
Weak casters turn a nominally "mobile" chest into a two-person carry. You want caster floor-interface notes in your spec: wheel diameter, tread material, swivel quality, and brakes that actually hold on slopes.
Cordless Chaos and Power Risk
Most technicians now run large cordless fleets. Without a planned emergency roadside repair storage strategy for batteries and chargers, you get:
- Loose chargers and dangling cords that snag drawers.
- Packs tossed in hot compartments with no airflow.
- No clear differentiation between charged, discharged, and suspect packs.
A power safety callout is non-negotiable: protected outlets, cord routing, and safe battery storage policy.
Inconsistent Systems Across Bays and Vehicles
If every bay and truck is laid out differently, your people pay the tax:
- Coverage during vacations or night shifts slows down.
- Techs maintain mental maps for multiple setups.
- Training new hires takes longer.
Shops that standardize and label locations across storage systems see faster onboarding and fewer lost tools.[2][5] When your road kit is an outlier, you lose that advantage the moment wheels start turning.
Building a Dual-Purpose System that Actually Works (Solve)
The fix is not "buy a fancier box." It is designing a dual-purpose tool storage system that treats the shop and field as one workflow with two operating modes.
Step 1: Define the Shared Core Loadout
Start with data, not feelings.
- List actual jobs, not tools: brake service, PM inspections, basic diagnostics, HVAC callouts, light fabrication, etc.
- For each job, log which tools are used 80% of the time.
- Mark which of those jobs regularly happen both in the bay and in the field.
That overlapping set is your core dual-role tool chest setup. Those tools must:
- Live in fixed positions in the primary chest.
- Be mirrored, 1:1, in your mobile configuration.
Everything outside that core can either stay shop-only, vehicle-only, or live in modular add-ons.
Step 2: Map Workflows: Bay vs Roadside
Design around movement, not marketing:
- In-bay, aim for one-motion workflows: from your primary standing position, you open at most one drawer and one cabinet to start a job.
- Roadside or on-site, aim for minimal body travel between the vehicle, the workpiece, and the tool source.
Build two maps:
- Bay map: top drawers for diagnostics and hand tools, waist-level drawers for impacts and frequently used sockets, lower drawers for heavier or rarely used items.
- Field map: how the same categories present when the chest is locked in the vehicle or rolled out at the scene.
These maps become your standard for labels, foam, and training.
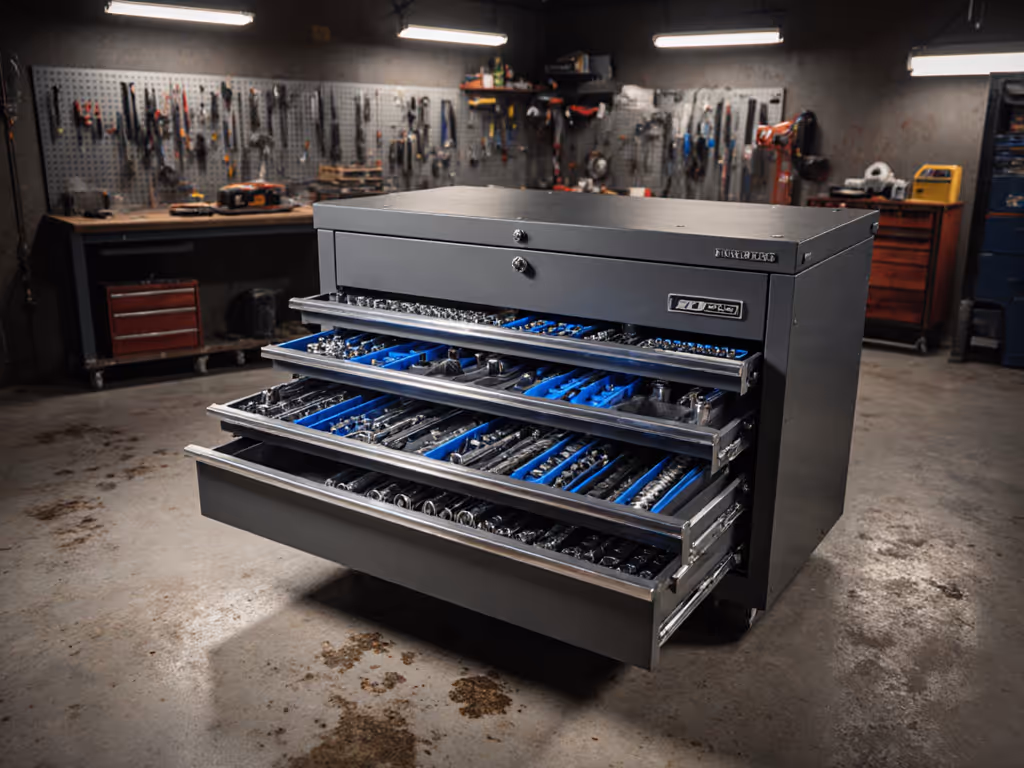
Step 3: Choose the Physical Platform
For a true workshop to emergency vehicle repair system, you want:
- A rolling base with:
- High load-rated, full-extension slides.
- Positive-latching drawers that will not creep under vibration.
- Large casters with tread suited to your worst floor.
- Tie-down points or brackets for securing in a van or box truck. Before you commit, compare ball-bearing vs roller vs soft-close slides to ensure the drawer hardware survives vibration and off-axis loads.
- Optional top box or side modules that can lift off for lighter, task-specific kits.
Key checks before you commit:
- Load the drawers as you would in real life, then do a vibration and rattle check over ramps or rough flooring.
- Test casters over thresholds and outside surfaces; if one person cannot handle the loaded box safely, it is not "mobile."
- Confirm you can service slides, latches, and casters (durability without serviceability is a trap).
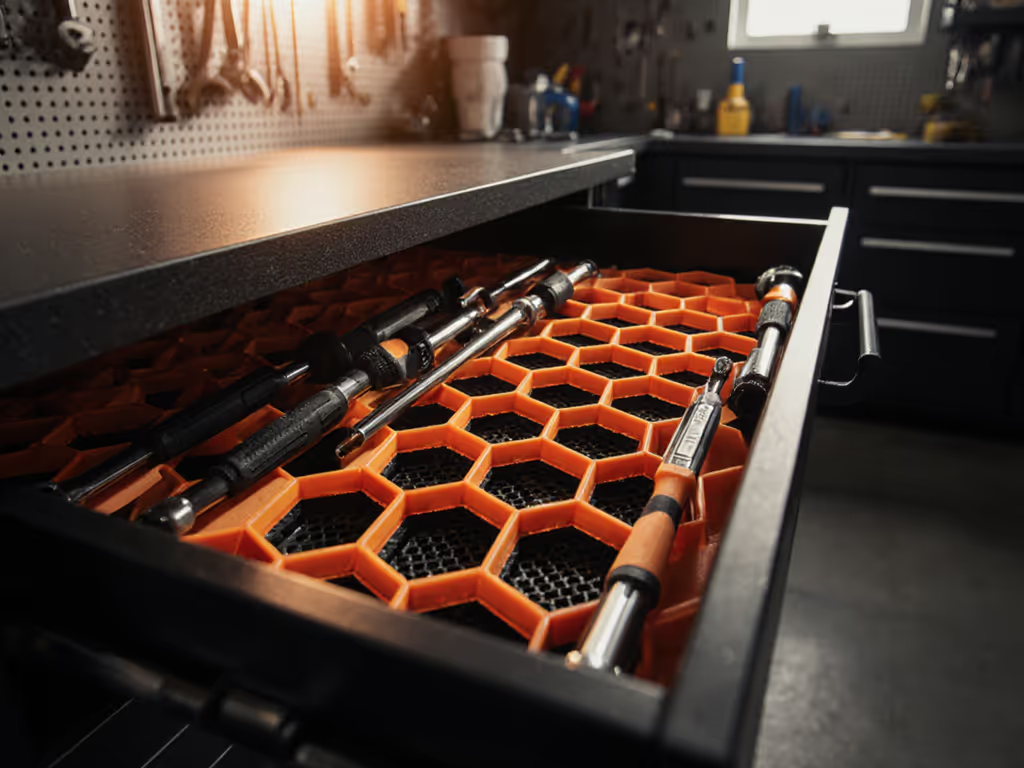
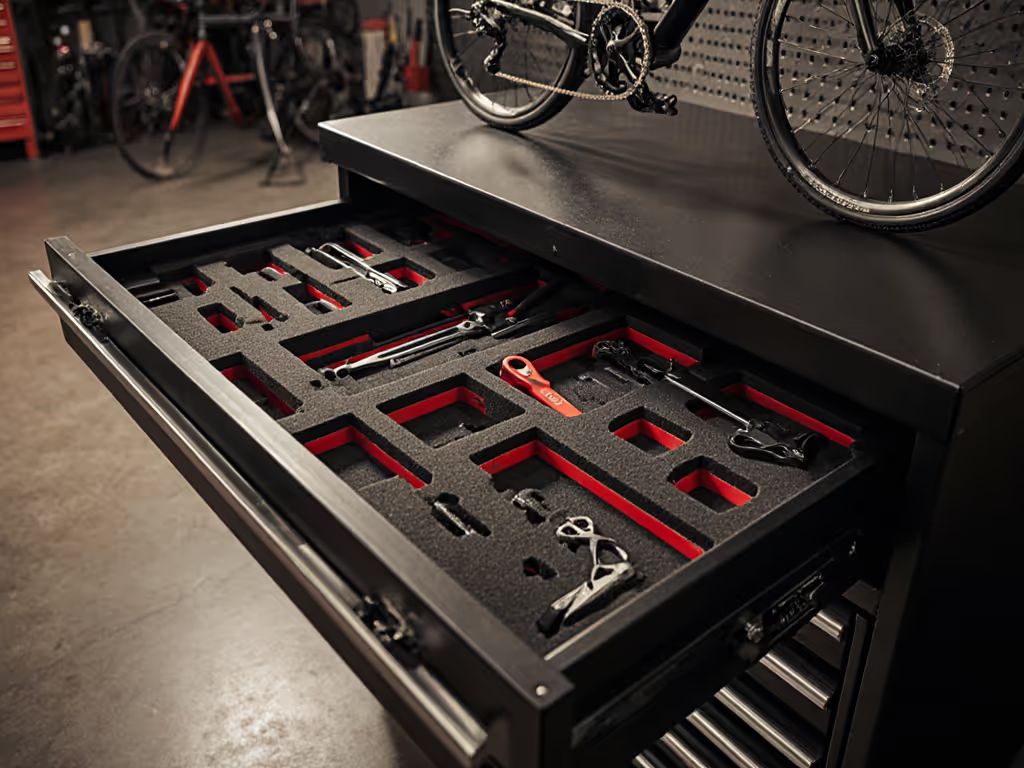
Step 4: Organization: Foam, Dividers, and Visual Control
Once the hardware is chosen, you make the system fast:
- Group by task and frequency, not tool type: put everything needed for a common job in the same zone.[2][5]
- Use shadow foam or precise dividers only for stable sets (torque wrenches, critical sockets, metrology tools). If you're cutting inserts, our tool chest foam optimization guide shows layouts and materials that speed retrieval and survive daily use.
- For evolving sets (drivers, pliers, small electronics), favor adjustable dividers that can change without a full foam redo.
- Label every cavity or divider with a durable, solvent-resistant label.
The goal: instant visual confirmation when something is missing (both in the bay and at the tailgate).
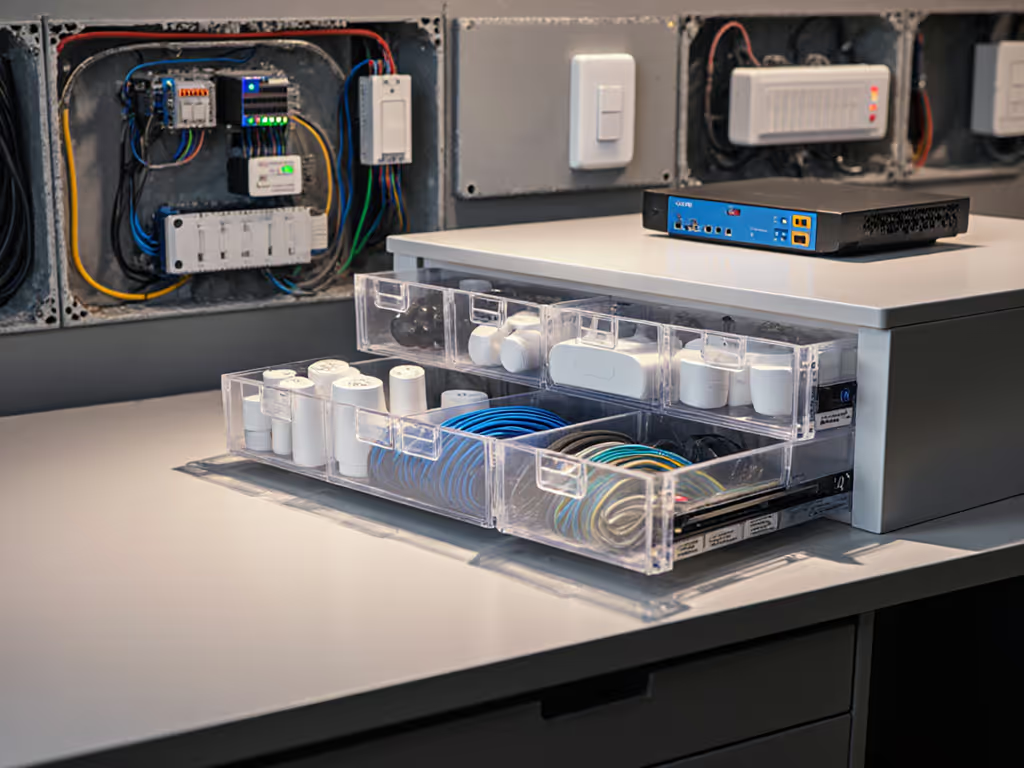
Step 5: Cordless and Power Management
Build a cordless-ready chest instead of a cord spaghetti monster:
- Dedicate a charging drawer or compartment with:
- Grommeted power pass-through.
- Protected strip or panel with overload protection.
- Ventilation or at least non-sealed space around chargers.
- Add clear zones for:
- Charged packs
- Depleted packs
- Quarantined or suspect packs
In a vehicle, route one shore-power input (or inverter output) to that zone. This minimizes fire risk and keeps cables out of drawer slides. For safe charging zones and battery handling, review tool chest fire safety best practices.
Step 6: Security, Tool Control, and Standardization
Treat the dual system as one tool inventory:
- Use keyed-alike locks across shop chests and the mobile unit.
- Maintain a single master list and drawer map for the core loadout, printed and laminated both at the bay and in the vehicle.
- For regulated or high-value environments, add:
- Checklists for pre-departure and post-return counts.
- Optional RFID or serialized tool ID on critical items.
The same map, same labels, and same habits in both locations mean any tech can grab the mobile unit and be productive immediately.
Step 7: Deployment Routine: "Secure, Then Move"
The last piece is process. A great system used inconsistently will still fail.
Before a vehicle rolls:
- Reset the chest to its standard: all tools back, foam and dividers full, labels visible.
- Run a quick vibration and rattle check: slam doors, push, pull, no drawer should budge.
- Secure, then move: tie-down straps, locking brackets, brakes set on casters.
On return:
- Return borrowed tools to their exact homes.
- Log any missing items immediately.
- Fix any storage damage the same day: bent slides, torn foam, failed labels.
Summary and Final Verdict
A high-functioning dual-purpose tool storage setup is not "a box that fits in the van." It is a single, standardized system that:
- Defines a shared core loadout for both shop and field.
- Uses hardware that survives vibration, bad floors, and real loads without rattle.
- Enforces visual control with maps, labels, and consistent drawer logic.
- Integrates safe power and cordless management instead of adding chaos.
- Runs on a repeatable Secure, then move routine every time the wheels turn.
If your current workshop to emergency vehicle repair system feels like two different worlds, your next move is not to buy more cases: it is to design one coherent workflow and then select hardware to serve that design.
Start with a single bay and one vehicle. Map the work, define the core tools, standardize one dual-role chest, and measure the time you get back. Out there, durability isn't a spec sheet; it is whether your day derails on mile two or your tools stay locked, quiet, and ready to work where you need them most.
Related Articles